garage workbench ideas “+10,000 Step By Step Plans ...even if you don't have a large workshop or expensive tools!“ Click Here ...
 garage workbench ideas
“+10,000 Step By Step Plans ...even if you don't have a large workshop or expensive tools!“ Click Here 👈
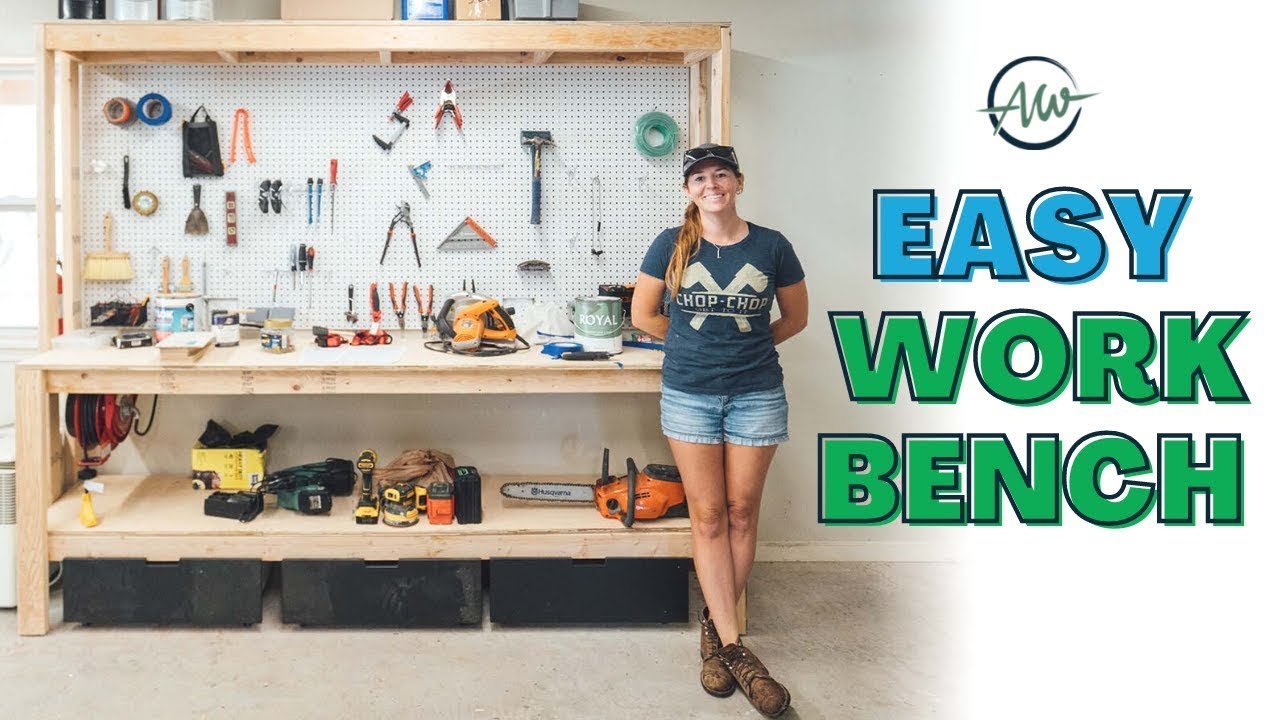
big thank you to simply say for sponsoring this video this week i am building a simple workbench in my garage it has a main work area with room for a full sheet of pegboard a lower shelf for storage as well as space for roll out drawers it also has a top shelf so that the top of the garage wall isn't wasted above that pegboard it's a very simple build that only took me about half a day to complete let me give you the steps i took in case you want to build your own i started off by cutting all of my material to length i love making a set of plans for my projects so that i can set up a miter saw at the very start of a project and cut all of my boards before getting started if you're interested in a set of free plans for this project then i have a link for you down below first i'll build the two matching platforms that will make up the lower shelf and the workbench shelf itself these are made up of two by fours and since they're identical i started by laying all four next to each other with the ends flush this way i could mark the location of the cross members then transfer the pencil mark to the others in the group now when i separate what will be the front and back of the shelf i could start attaching the cross members at my pencil marks i started by attaching both ends first to get the unit square then filled in the center members i have a nail gun so that's what i'm using but a drill and screws is also a great alternative later the top side of both of these shelves will be decked with plywood so make sure that the two by fours you're attaching are flush to the top next was to start attaching what will be the legs my plan is to build the workbench on its back like this that way i won't have to be balancing the shelves while trying to get them attached to the legs with that i flipped each shelf up to stand on end adding the third topmost shelf to the mix then i set the leg in place on either side i pre-marked both of these 2x4 so that i knew where the shelves needed to be positioned then just how to line the shelf up glue the joint and then nail it note i'm using wood glue on this entire build it is shocking how much more rigidity wood glue will give the finished project also since i'm not working with gravity but instead shooting in sideways i added a clamp to each joint before adding my nails and this will keep both of the boards completely flush to each other instead of the impact of the nail slightly pushing the backboard away after repeating on my other side with the second back leg i moved to the front and attached both of the front short legs don't forget i have a free set of plans for this build if you're interested it's linked for you down below now to make attaching the second back leg easy i grabbed a few scraps and used them as spacers i could place them on the two by four legs so that they act as a standoff for me to set my next board in place after i put down some glue and you can see that this board doesn't go all the way down to the ground i called it a leg but it's actually only designed in to help support the front of that topmost shelf so if you want a wider top shelf you could move this board out in order to support it big thank you to simply say for sponsoring this video you guys know that i've used simply save for my personal and commercial shop security for a while now it's totally customizable home or shop security that focuses equally on up-to-date tech and reliable service simplisafe provides an easier way to secure your home and family and right now simply safe is offering its best deal of the year with up to 40 percent off your security system simplisafe makes ordering and setup easy by enabling you to design a system best fit for your space and ships directly to your doorstep they've got sensors to cover every window room and door plus lots of great extras like water sensors smoke detectors hd cameras for indoor and outdoor and doorbell cameras their new wireless outdoor security camera has an easy to remove chargeable battery that doesn't need an outlet so it can go anywhere which i really love the 24 7 monitoring service will call the authorities immediately in an emergency making me feel extra safe the simplisafe app also makes it easy for me to know what's going on while i'm away you can save 40 or more on your simply safe security system during their biggest sale of the year visit simplysafe.com april to learn more alrighty and with that i decided to stand the unit up and deck it even though it's big it is still pretty lightweight at this point and i always think working with gravity is the best route to take so once the workbench is upright i started putting sheets of plywood on all of the shelves starting with the main work surface the bench is designed so that clamps can be used on the front lip to hold items down this is a great function but makes it kind of tricky to screw down to the frame however a tip is to grab a 2x4 scrap to act as a spacer this is the same depth as the overhang so that means that you can flush it up to the top side and it will give you a reliable visual on where you can place a screw to hit the frame underneath with the bottom shelf being enclosed by the legs a full piece can be slid in unless you wanted to move it out from the wall and slide it in from the back so i cut the shelf into two pieces making sure the joint landed on a stud oops a little long but that's an easy fix the shorter piece is easier to remove so i grabbed it and cut a blade off there we go much better note i'm not using any glue on the plywood pieces and i also switched to using screws over nails here and this is so i can replace them in the future should i need to i again did two pieces on the top shelf this time only because i was trying to use up scraps instead of cutting into another sheet of plywood all right and now i hopped down and started working towards attaching the pegboard in the center i just released a video showing how i added these two outlets to this wall in preparation to building this workbench they're great but now i needed to cut around them to make this easy i grabbed an eight foot scrap which is the length in between the uprights and i set it on the workbench then marked off the location of these outlets this is the kind of chi to avoid a bunch of measuring because now i just had to lay this board on my pegboard and transfer the location of the outlets to the face so i knew where to cut i didn't want to work on the ground with the pegboard so i simply moved the bench out from the wall this way i had enough room to center the pegboard on it and work you can see i'm now using that scrap with my pencil markings to mark off the location of the outlets once the locations were marked i could cut them out you could definitely use a jigsaw for this but i had my triton multi-tool on hand so that's what i used perfect since the pegboard was here i went ahead and moved the workbench back towards the wall and test fitted it it looked just fine so i moved on if you go to hang pegboard know that you can't place it directly on a wall the hooks for it require a gap on the back side to create this gap you first have to attach some battens i'm using some three-quarter inch plywood scraps cut into one inch wide strips i first found the studs on my wall then screwed these battens down now i had something to attach the pegboard to you can see these battens through the holes on the front so i drove in a few screws everywhere there was a batten okay now it's just finishing touches really i went ahead and laid my bench back over to do two more add-ons but if you build this you could do these steps earlier when the workbench is already laid over first i added some adjustable feet i'm a professional you can definitely buy adjustable feet but a great trick is to simply use a lag screw i pre-drilled into both front legs then threaded in a lag screw now when the workbench is stood up i used a wrench to raise or lower the front end to put it into level regardless of where i move it in the garage then second i added a cord reel i have eight outlets on my wall now but what if i want to work in the center of my garage adding a retractable cord reel will allow me to plug it into the wall outlet but then pull power anywhere in my garage i need it these reels made by real crap have a superior quality three tap that are designed for long life plus they're made in the us so find a link below if you're needing a cord reel for your shop then the very last thing i did was add rolling drawers i was actually getting rid of an ikea bed and held onto the drawers so that i could add some casters to the bottom and utilize the bottommost area of this workbench of course if you don't have drawers already you can use some scrap plywood to quickly put some together i cut some half inch plywood blocks from some cutoffs then screwed them to the corners of the drawers and this gave me some good meat for the casters to attach to note i chose non-swiveling casters so the drawers will pull in and out like they're on the rails rather than swiveling all over the place and just like that i now have a spot where i can do all of my tinkering without having to trek down to my woodworking shop the pegboard alone holds a lot of items so it's so much better to have them up and spread out rather than in a tote or a box where i have to dig through to find something i'm using the lower shelf for my tool storage the drawers for oddly shaped things like packages of hinges or slides and then the topmost shelf or long-term storage items like buckets of paint i highly recommend this 3d experience solidworks for makers by the way don't forget i have a 20 off code if you're wanting to try 3d modeling for your own projects i can't tell you how extremely valuable learning a modeling program has been for me so i love giving you guys a nudge to not only learn it but also a discount click the link in the description to create a free 3d experience id to have access to this special 20 off offer if you're going to be building a workbench be sure to check out the video on how i added 110 outlets to this garage wall beforehand you can also check out my other videos on building workbenches in case one of those better suits your needs i'll leave you a link to them down in the description and that's it for this one it's a very simple build so if a workbench has been on your to-do list and i hope that this video helps you out i will see you on whatever i'm building next if you have been wanting to make a rocking chair then i have templates for this design right here or if you go to my website i have templates for tons of other projects as well [Music] ...


No comments