solid wood workbench top “+10,000 Step By Step Plans ...even if you don't have a large workshop or expensive tools!“ Download T...
 solid wood workbench top
“+10,000 Step By Step Plans ...even if you don't have a large workshop or expensive tools!“ Download Today! 👈
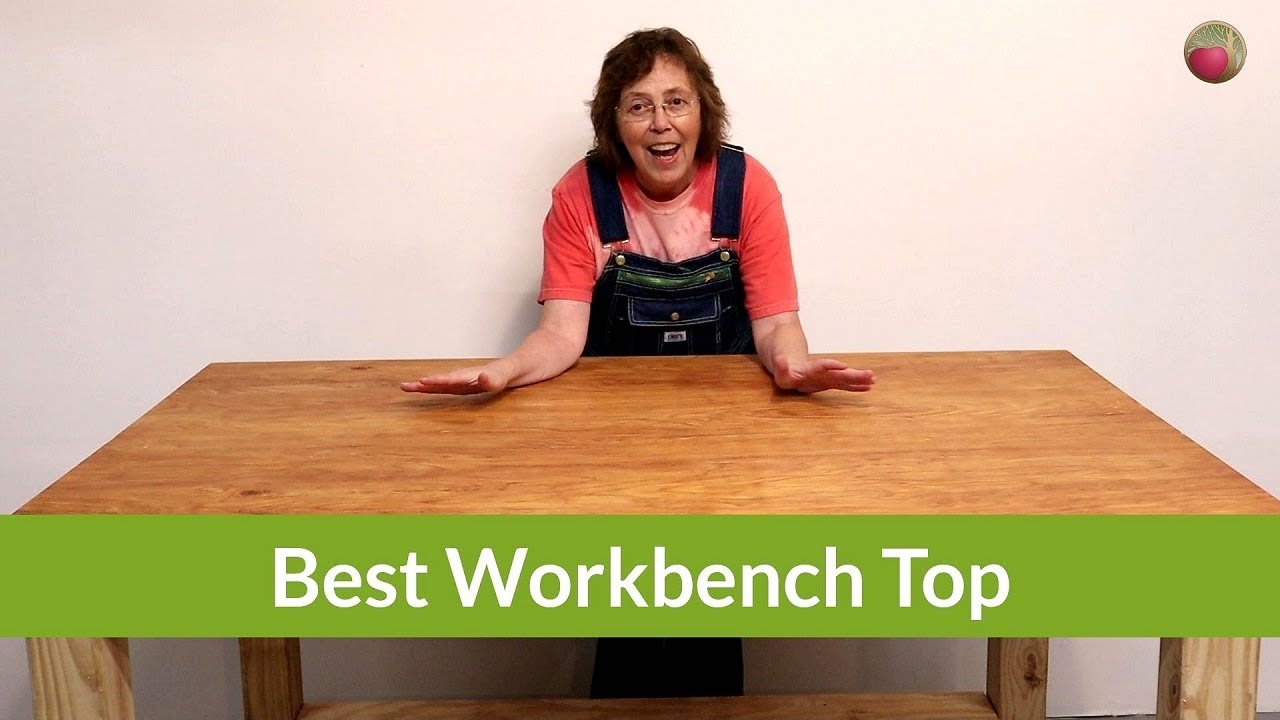
before you build your workbench there are a few decisions you need to make first like the kind of material that you're going to use how you're going to attach it and how you're going to protect it who knew there were so many choices but there are and strongly held opinions and we're going to talk about all of them in this video [Music] Wow a PD of wires and woodworkers I'm Anna from heart wood art if you're enjoying these tips be sure to subscribe to this YouTube channel and come on over to heartwood art comm for more tips and Bill plants like how to build this work okay let's dive in the best way to determine the material you want to use for your bench top depends on how you're going to use your workbench are you going to use it as an assembly table are you going to be pounding on it are you going to be doing stained and painting and then are you going to be doing glue ups okay now that you've determined how you're going to use it let's talk about materials as you can see I've got three quarter inch plywood on this one then I've protected on the top and it works for me because mainly this is an assembly table for me and then if you're going to be pounding on it whatever you may want to think about hardwood and you're going to glue up lots of strips like a butcher block for that and then if you think you need to go cheap there's MDF mm-hmm don't do it it's one of the worst materials in the world for a bench top unless you're going to take extra steps to protect it so you know if you have to go ahead and spend a little more money on the plywood instead okay now let's talk about how you're going to protect it you can put any kind of plywood on here even if it's unscented and then put a piece of masonite over the top and that comes in 1/8 inch quarter inch whatever you want but it'll give you a smooth surface on that too or if you could get another piece of plywood that is sandy but only a quarter of an inch thick that'll keep you from doing a lot of work ting you put that right over the main piece of plywood that you've got and then some people even put a sheet of laminate on it that's especially good if you're going to be doing painting staining whatever glue ups it just wipes right off of there so you know the underlayment of it can just be any good piece of plywood for it you put all these covers over the top of it now there's another thing to think about if you're doing glue ups because you really don't want the glue to be sticking this so you can you know like craft paper or tarp or anything that you want over your bench to do that another way to think about this is what I did here I just put some good bold linseed oil on it and then some paste wax over the top and glue you just knock it right off the top of that and no none of the oil comes through to your workpiece and none of the wax gets on your workpiece either some people have the idea that what's on here is going to come off and work oh the wood is going to soak that in okay now let's talk about attaching your top to your bench and you really need to think through this before you actually assemble the bench wood moves and that's a big thing that professional builders you know kind of hit on the head of DIY or soon they don't get that and how they're doing attachments with it because it's going to absorb moisture in different parts of the bench are going to move in different ways so you need to be careful about how to attach it now one of the big ways that people like to do this is with wood cleats and so it's like a block of wood that has a little tongue sticking out and you attach the block to the top and then you cut a big hole literally a slot thing in the backside of your rail for this little part of the tongue to go into it so that way your top can move side to side now when you get it all the way around it's not going to be jiggly on you or anything it's going to stand there but it kind of floats your top over your bench now if you don't want to do these wood cleats and cut that big strip in it for it or that big slot in there for it you can actually do this with angle brackets that do the same sort of thing there are a lot easier to attach to and so for your rail you only have to cut a small slit going across and you can easily do that with a router and probably one or two passes because the tongue is just a little piece of metal doesn't need a whole lot to go into and just one screw up through it's kind of an S shape to go around your rail for that so lots easier to attach probably a lot easier to do if you want your table to float on there now another way to attach it that's becoming really popular are these figure 8 things and you actually have to just make like almost a countersink in one side in your rail or at the legs for that and they have less movement in them for it they kind of rotate more than go side-to-side with it they sort of rotate for any kind of movement that your top is going to happen they're pretty easy to install now another way to do this that a lot of di wires are familiar with pocket holds and it's a lot easier to put those pocket holes into your rails before you do the assembly ask me how I know that's how I attach this one it also makes it super easy for you to remove this top to be able to change it out if you want to the least desirable way to do this is from the top with Brad nails because at some points you probably are going to want to change out your top and Brad now let's make that almost impossible or really hard to do it cleanly and then you don't want to do screws in from the top either because you're going to have to countersink them so nothing scratches as you move things across the bench but in that countersink all your dust and glue and all kinds of stuff get down in it so that's really not a desirable way either I sure do hope you found this video helpful and all the things you need to think through before you start building your workbench especially getting your top on and come on over to heartwood art comm see how I built this workbench and I'll see you in the shop ...
“+10,000 Step By Step Plans ...even if you don't have a large workshop or expensive tools!“ Yes, Get Access To 12,000 Shed Plans! 👈


No comments