build a workbench for garage “+10,000 Step By Step Plans ...even if you don't have a large workshop or expensive tools!“ Yes, G...
 build a workbench for garage
“+10,000 Step By Step Plans ...even if you don't have a large workshop or expensive tools!“ Yes, Get Access To 12,000 shed Plans! 👈
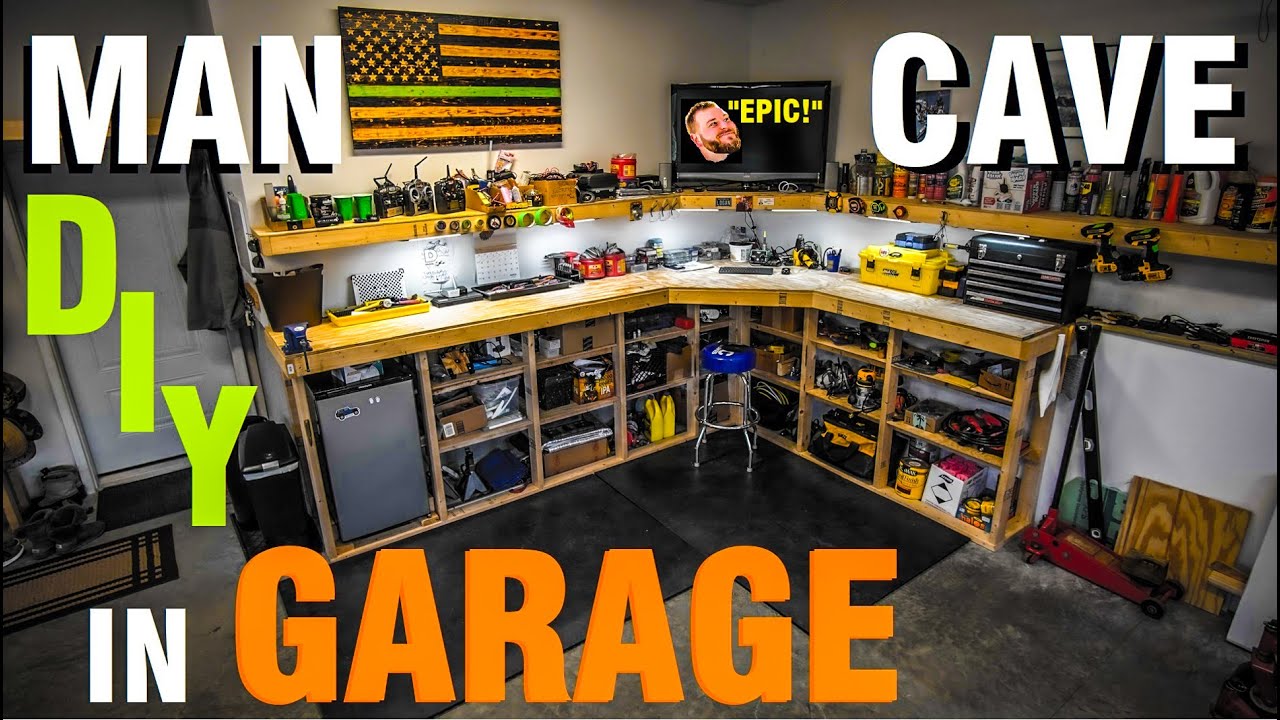
what's up guys welcome back to the big luggage Channel today we're doing a DIY workbench built into the wall super stable low cost all two by fours and some plywood and a little bit of hardware nice well let's get started [Music] hey what's up guys so today we're gonna be building workbench before we get into the design I just want to show you a finished product this is my workbench this is the fourth one I built we're gonna go over to Caleb's and build number five so what this is is a built-in workbench system that actually anchors right into the back of the wall and it's super budget because it's really only two runs of structure there's a front wall here and then there's just the top structure it lays on top we're also gonna do a floating shelf just like this which is just built out of more two by fours and it's just lagged into the wall itself we see if I can find a lag there it is lagged into a stud so the whole thing floats makes a really cool spot I put my TV up here speakers and that type of stuff keyboards down here nice little 45s on the floating shelf and the workbench and guys this is just a great little simple project I probably built this piece with the entire floating shelf and all the workbench structure for under about two hundred and fifty dollars it's really just plywood and 2x4 let's get down to the design alrighty so here's the 3d design and Trimble Sketchup it's free software online check that out if you haven't already this is the workbench design in the L shape with forty fives in the corners floating shelf twelve inch 24 inch workbench top Caleb's wife Megan was asking for a little pantry area some quick grab right out of the garage door so we're gonna do 24 inch by 24 inch from shelves top to bottom there hey we're gonna throw in some shelves over here tuck in the fridge and make a nice clean corner storage area of bulk storage two-foot cheap plywood and 2x4 framed out shelving there that's the basic of the 3d design let me show you the 2d rendition of this I can jump up and down on these work benches I'm 330 pounds guys it's it's a basic T structure comes right out of the wall ties into itself take a screenshot of this if you want to do this on your own and you can't remember exactly how we laid it out but we're gonna head over to Caleb's he's got the lumber we'll meet up over there and that is a lot of lumber two-by-fours cheap quarter-inch plywood for the shelving top this is the slightly over half inch cheap plywood for the workbench tops that is it seventy two by fours eight pieces of plywood two four by eight thicker pieces of plywood all right right here got everything cleaned out first step we're gonna run vertical board here off the base plate like we talked about and run the vertical boards here and build out that pantry section probably gonna start here [Music] all right let's see if it clears here here grab that end welcome to the vlog fellas you're perfect yep look at you sit alright next step we're gonna build the vertical down here start on the workbench the time to the pantry piece there [Music] [Music] but Alexa here well but will come out 24 miss ball to it so you have 20 out for the front 20 out to the front there and will space off there and except the other side perfect [Music] [Music] [Music] one more round of these all right so quick update got these verticals in we're gonna do 16-foot even that way the board's on top are two eight-foot pieces of plywood seventy six inches and it gives us a 16-foot workbench plus the 45 here finish off by the pantry storage can you get the masonry nail in yes first try pair show the camera what this thing is what we're working with looks like something they nailed Jesus to the cross so don't do that way go go with the grain you'll split the wood I don't find it here forget Redemption I see sucker how's the build going in your house Capcom sir probably the first pick I just had bad luck on a couple of other garage builds they pull right out of the concrete like the concrete's too porous he has other high PSI rating concrete slab in the garage I think Capcom's might be the front pic said we'll probably come back and do that but building on we're to lay some shelves in behind that vertical do the bench top construction no no don't leave tools up on the working project car Beamer right there we alive yep seven course about that where's your stuff your studs right here [Music] we got shelving support boards done we relate the shelves in before we actually do the work bench top tray [Music] [Music] [Music] [Music] they were bad all right now we got the baseline structure done he's clean up some chips now what we're gonna do is do our tea structure let's move up or down just like this come out and lay that all across the top here so it's basically just a big tea and that will finish it's already tightening up just from having shelves on it this is already getting rigid excellent let's fill the top [Music] [Music] looking good so now what we do is square all this up we're going to work with the level just put the level all the way down intermittently toenail it in hit studs along all the back walls [Music] yeah you gonna be good this is definitely the best workbench so far better be so he's crying with the left so we're just pry up to get this all level and this top is perfectly flush I'm talking to America Dodd right there were that were cha oh there's a screw right there oh that's good and tight we didn't I 45s gonna give us a nice deep work surface here we'll just itch down this line to trim the plywood top off take the drop to play it down there take the other piece of drop lay down here all right quick update of progress Beamer the main man bench builder is just wrapping in the last screws on our work bench top shelf on the bottom work bench next step we're building a one foot deep floating shelf with a 45 right here all the way around floating shelf is next go from there check all the videos out check all the videos out comments put the floating shelf up so you made some space here so we can help ourselves out boost the floating frame up let's get it in workers are just standing around cheap labor [Music] all right so there it is we gotta send some lag bolts we'll be right back nice cruise huh cut do it again like screws or not bolts we got to do lag screws right up here to send the footage shelf in rock and roll can throw some lag screws right lag screws these bad boys are gonna suck into the studs Assad will keep that side from sagging this I'll keep this side from sagging works out great hello it's time that's done now we got wood by God's round one of the floating shell is done we did the first top sheet of lag bolts up here we found studs we put the lag bolts topside that way it lifts the floating shelf Caleb only wants it to come about here so we're gonna do 60 inches more floating shelf install that and close out the workbench project we're almost done that's level oh yeah oh that's level two all right what do you think of the new workbench Avila's build the workbench for daddy yay good job it's crooked just like your dad good job alright guys that's a wrap this is the bill finished product beautiful workbench DIY we're gonna check in for the after photos once we organize it all stay tuned for that all right so instead of going to the ceiling here Caleb's gonna mount a big piece here so we're just gonna do the bottom and shelf and then wrap up here we're do 45 at the top just to fly over you have a little bit of extra depth here but these are all two by fours it gets the only thing different than the methodology for the workbench is this member here is on the outside so you can lay a 24-inch sheet of plywood right in here and nail it all down so pretty simple so just flying over the fridge relocate the fridge of this side one nice long run here that's gonna close up all the shelving and storage nice alright as that as they wrap structurally for the shelves so we just did basic 44 inch shelves all around yeah man stop messing around just finish it up here get all the shelving in a nice cheap DIY built in how's it looking Jean [Music] ...
“+10,000 Step By Step Plans ...even if you don't have a large workshop or expensive tools!“ Yes, Get Access To 12,000 Shed Plans! 👈


No comments