build your own workbench “+10,000 Step By Step Plans ...even if you don't have a large workshop or expensive tools!“ Click Here...
 build your own workbench
“+10,000 Step By Step Plans ...even if you don't have a large workshop or expensive tools!“ Click Here 👈
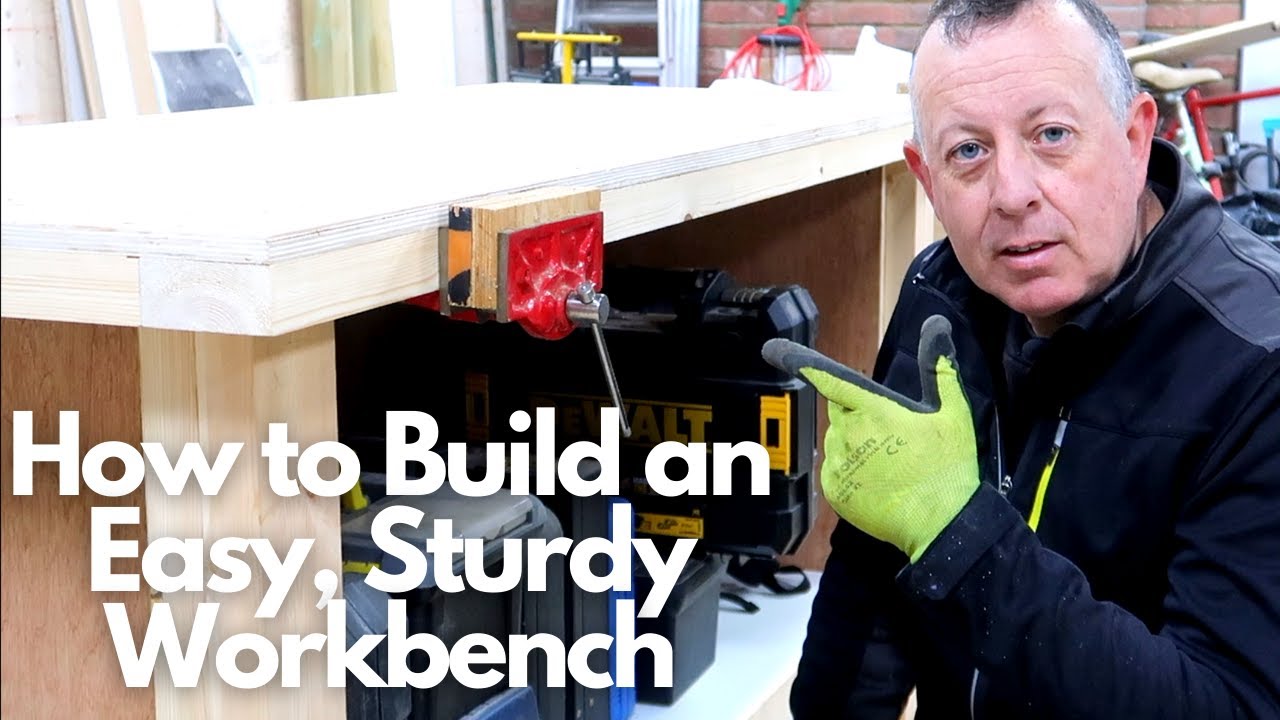
hello there welcome to proper diy my name is stuart matthews and today i'm going to show you how to build this really really sturdy workbench it's got a lovely top on it it's really easy to clamp things to it you can fit vices to it whatever you want and it's even got storage underneath [Music] [Music] for the last few months i've been using all kinds of improvised work benches and layout tables to carry out the projects that i've been doing i've needed to use these as well as this my trusted old workbench as the projects have gradually got bigger this old bench which i designed around the timber i had at the time has served me really well so i think it's time that i built and added another one to my collection rather than making do anymore so i've designed a new bench around the things i really like from the old one such as it's strong and sturdy really good for the heavier jobs plenty of storage easy to clamp things to it as there's a nice overhang all the way around that's around about 60 millimeters thick that's just right for the clamps that i use and the perfect height for me which is 920 millimeters so it all starts with the top this piece of 18 mil hardwood ply i picked up from the scrap bin of my local big box store because apparently it's an off cut it's one hell of an off cut and i think i was really lucky to get it it's about 1.8 meters high and just under 800 wide so perfect size for the top of a workbench i've checked the four corners and measured the diagonals and it's absolutely square so i assume it came off their big panel saw so essentially i'm going to build the workbench around this as well as the 18 mil ply i'm using four by two plained all round on this project which has a final size of 44 millimeters by 94 millimeters i start by cutting the four by twos to length so i can make a frame flush all around the perimeter of the top i simply screwed this in place as if in the future i need to replace the surface it will be impossible if i glued it i place the screws at around about 250 centers and then flip the hole over and toenail in larger screws at each corner just so the four by twos are anchored together [Music] [Applause] [Music] now i've got the perimeter fixed i carefully cut three cross members to give a nice tight fit to give the center of the ply top some additional support [Music] i fixed these again from above through the work surface and then again flipped the whole lot upside down and added a screw each connection [Music] so that's the top complete so i'm now moving on to fixing the legs and in one of my early designs i thought i might get away with one 4x2 in each corner however when i look at my old workbench the cross-sectional area of the legs on that is around about double what i've got in one 4x2 here so i think i'm going to have to use two because i've got some pretty heavyweight projects coming up and initially i thought i'd use them in an l shape sitting between the frame and the ply but that didn't make sense because there should be support in the frame so i finally came to the conclusion i'm going to glue and screw two four by twos together that gives me quite a chunky leg it's 88 millimeters by 94 so quite a heavyweight leg but i think i'm going to need it with the projects coming up it also leads me on to how do i fix it to the bottom so initially i thought i'd have one sitting on the frame and one sitting on the plate but that doesn't make sense i should be supporting the frame rather than the ply so i've eventually concluded that what i'll do is notch out a piece of this timber so it eventually ends up sitting half on and half off of this frame this end frame has been supported by this piece of timber this front and back frame is being supported by the outside piece of timber these are glued and screwed together once this is connected especially once it's braced with some ply i think that's going to give me an extremely stable leg i marked out a 44 millimeter notch that's the same thickness as one side of the 4x2 to give me the same overlap at the ends as i've already got on the sides which is one thing i've missed on my old workbench where the top is flush on either side [Music] one of these cuts i make on the miter saw and the other one on the bandsaw just to make sure i've got both at exactly 90 degrees but you could quite easily do both of these by hand with a simple handsaw [Music] this arrangement really helps position the legs in the corners you'll notice here that i've already cut the inner 4x2 to the correct length to the top of the future rail the reason i've done this will become clearer later i use a liberal amount of wood glue between the two leg pieces and then clamp in position ensuring both the four by twos are not only bearing onto the frame but they're 90 degrees to it in both directions this process is easier said than done as soon as you put pressure on the two pieces of the timber with the clamps the glue helps them slip and slide all over the place so it takes a few minutes to get everything lined up and square and clamped [Music] the other thing i'm trying to achieve here is for the weight of the frame to be bearing on the leg if this is too long this won't be touching and actually it'll be pushing against the player you'll see that i've actually got a very small gap here between the ply and the leg that means all the weight from the frame is going through the leg all the legs have now been glued and screwed i'll just clamp them in the final position temporarily just to do a bit of a dry fit to see what these rails look like and you can see now by me stopping one side of the leg shorter than the other i've created this sort of shelf for this rail to sit on and this side of the leg can continue the other side of this rail by gluing and screwing another bit of 4x2 here all the way down to ground level we're obviously still upside down here and that gives me two things it gives me a really tight joint here without ever having to lift a chisel and it also means that i can now trim the leg to the final length i've left these 10 or 12 mil long and if this is glued and screwed along here i can use my miter saw along here and give a nice flat bottom to this leg so the other thing i need to do is to make sure that this workbench doesn't rack backwards and forwards the last thing you want is a wobbly workbench so i'm going to fix a piece of ply or mdf between the legs on the inside here and that will give me huge rigidity backwards and forwards if i do the same on the back that will give me rigidity left and right and the only downside to using ply or mdf along these faces it adds cost to the workbench so if you want an open workbench and you don't want ply or mdf there it's very easy for these rows just to finish a little bit shorter and then all you need to do is to put a cross piece and a cross member on the same shelf and then screw in there i must admit i like boxing out my work benches it means that they're really really secure really rigid it also gives me a nice area underneath the workbench for me to store even more tools and rubbish i must admit that making nice tight joints like this without hours of cutting and chiseling is really very satisfying once these end sections are glued and screwed i trim the legs to the final length and gave them a bevel around just to help stop the legs splitting when i inevitably drag them around the workshop i'm using a simple block plane here and applying a downward force as well as sideways to help stop the end grain tearing out as i come to the end of the piece however if it does it doesn't really matter this is a bottom leg to a workbench not a piece of chesterfield furniture or a hardwood dining set [Music] with the legs temporarily held in position the front and back rails can be fitted although all the timber here is uniform in size i've still marked the rails and the legs so each time i fit them they go back into the same place help in accuracy and also to get those tight joints before finally fixing the rails i again ensure that the legs are 90 degrees to the top in both directions and then put in two screws at each connection [Music] where a leg needs more persuasion to stay at 90 degrees to the top i use a clamping square just to hold it in place [Music] [Applause] [Music] with the rails in place i cut ply for the two sides that just happen to come from the same pile of free timber as the top so at least they'll match just four or six screws between the ply and the legs here stiffen the whole frame and will give a huge amount of strength to the bench on the back i use an eight millimeter sheet of mdf just to box it in as 18 mil ply is really not needed here [Music] back is on legs complete time to turn this over now you didn't think i was going to lift it by myself did you there's a good reason why i still haven't properly connected the top to the legs that is this is now too heavy to lift [Music] so i've checked the bench for square and it is still square because it's so well braced i'm now just connecting the top to the legs and i'm just going to be using these 100 mil screws i think the self weight of this i just think i need one of these in each corner just to make sure it doesn't go anywhere so i'm using a drill bit big enough that the screw doesn't bite onto it all the way through the top which means that the screw should only be biting on the bottom 20 30 mil which is actually the leg pulling the leg towards the top i've also countersunk the top here just so it fits flush with the surface so the very last item to go in is a shelf that i'm going to store my tools on and it really doesn't matter what material this is as long as it's strong enough to support whatever you're going to put into it and i've been looking through my stocks of materials and would you believe i found a couple of pieces of melamine that i picked up for free from my local big box store that are absolutely the perfect size for this shelf now that doesn't happen very often [Music] [Applause] [Music] so that is the workbench complete and the tool store underneath is already full isn't that interesting so i hope you've enjoyed this video if you have please check out the other ones on my channel and please look out for part two of this workbench build where i'll be fitting some casters to either end which will be able to raise and lower so i can actually move it around the workshop as and when i want to this is pretty heavy now so until then i'll see you next time [Music] ...


No comments