free project plans “+10,000 Step By Step Plans ...even if you don't have a large workshop or expensive tools!“ Download Today! ...
 free project plans
“+10,000 Step By Step Plans ...even if you don't have a large workshop or expensive tools!“ Download Today! 👈
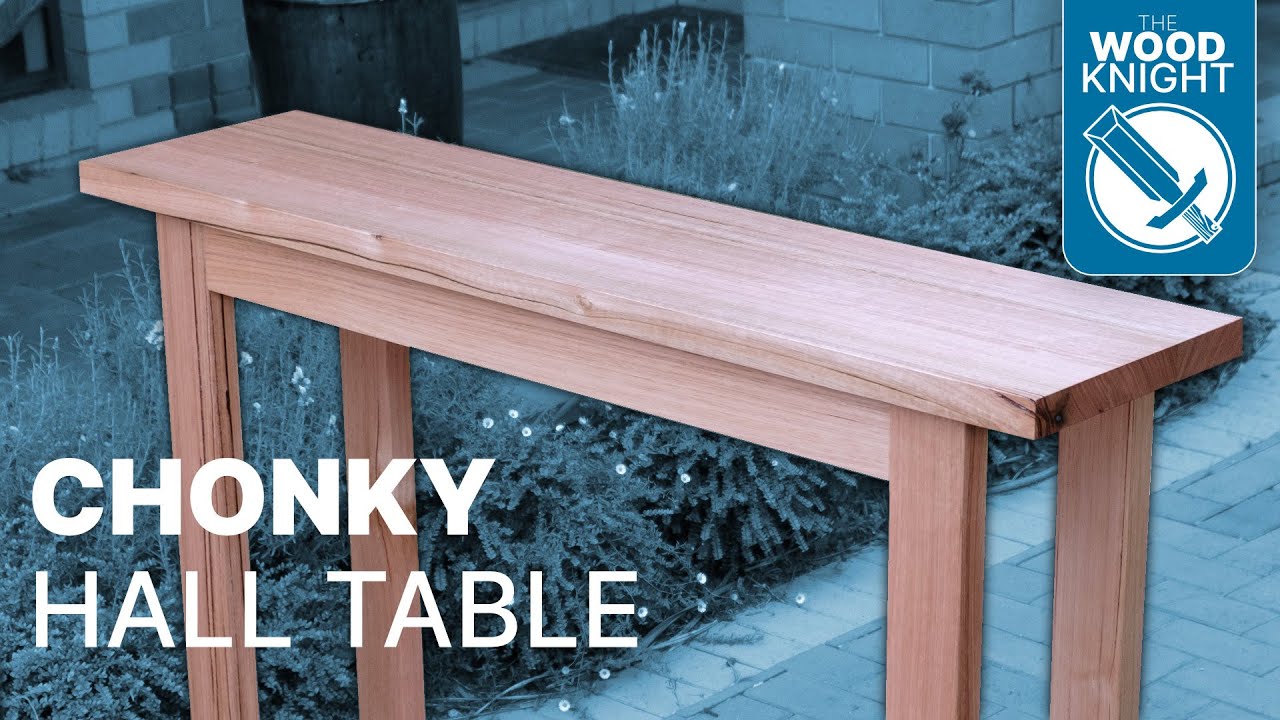
I'll provide just a little bit of context for this build first this is something my sister Juana she found the design online and sent me a low res image to work for him the dimensions match the space she wants to put it in but otherwise I'd say this is a pretty enormous hall table well I'm happy with how it's turned out and isn't my cup of tea and that's perfectly okay it's not for me so it really doesn't matter what I think about it to me the design is almost a mix of Brutalism architecture design minimalist design and modern furniture design all wrapped up in one secondly today is the 31st of March 2020 we're not on full lockdown in Australia but it feels like there's I'm going to be a matter of days because of that the video making process has been somewhat truncated I couldn't get all the details that I wanted in this build so that my sister could get her a whole table a little bit sooner funnily there are also free plans available I also have a detailed write-up over on Instructables if you prefer written version I'm currently trying to win in one of their woodworking contests [Music] first up is the top which goes through the standard material preparation process first break it down into more manageable lengths of timber at the miter saw then join one face on one edge at the joint of [Music] it's brought down from 45 millimeters rough-sawn to 40 millimeters final dimension at the thickness of to get the desired with only three boards laminated I'm cutting off about 20 millimeters off each board so that each section is even rather than having to full with boards and 160 millimeters narrower I'm using the Domino as a biscuit jointer here the top will come in at about 50 millimeters wider than my thickness are so flattening it afterwards is going to be difficult biscuits Domino's or even dowels will help reduce any shifting during a clamp up it's not important that the Domino's are glued in they're not here for strength glue you can just be rolled over those holes plywood calls help distribute pressure and reduce any marring of the top the top is cut to length after the glue is dried using a track saw a circular saw with a guard to a good job - it's too heavy and large for a regular crosscut sled all the parts in the base will end up the same width and thickness 90 by 40 millimeters [Music] once there a uniform width and thickness they can all be cut to length at the table saw first by squaring on one side flipping and cutting to length this works well for the shorter foot pieces for the larger legs and apron pieces they can be squared in one hand but it's a bit more complicated to cut to length using the existing T track on my crosscut sled I made up a very quick plywood l-shaped extension fence the extension fed and slits B clamp a block of wood to act as a stop so all the parts end up the same length all parts received the exact same genre pattern two dominoes per side space 25 millimeters from the science this T cage makes it very easy to get the line drawn again I'm using Domino's here for expediency so the my sister could get a table before a full lockdown I haven't forgotten about the January series so far I have about nine parts of that drafted and they will start coming out next week or some parts get flipped to receive the second row of mortises the mortises in the face need to have the fence adjusted for sanding I use the pencil scribble method lightly scribble all over the place with a HB pencil then when it's all sanded off you know you've sent it enough and can move on to the next grit after sanding halite roundover is added to altarpieces my sister wanted to retain the sharp edge look but I managed to convince her around over it was a good idea for her toddler before the glue up processed the slots are cutting the aprons for zeg clips to attach the top due to the size and weight of the base the glue up we done in three stages two leg assemblies than joining them together with the aprons dividing in this way makes for an uncomplicated glue up but it may take a little bit of time so I'm opting to use liquid hot glue [Music] on the end with no blow up I quickly cut some pieces at the same length as the foot to make sure everything is kept square and didn't pull in too much the second stage Claude goes much the same though this time with more metal blasting out [Music] another advantage of hindlimbs the way lubricates the joint this very tight-fitting set of dominoes needs hammering in when it's dried but with hind glue is able to be pushed in by hand because of the length I had to resort to pipe clamps joined together [Music] with the table upside down on the workbench screws for the Zed clubs can be pre-drilled on more disassembly then the finish can be applied for this I'm trying out live asses to no soil it gets wiped onto the service than five to ten minutes later any excesses wiped off so far I'm really digging the service left behind and how easy it is to apply and a huge thank you to Ali from levosa Australia who was kind enough to drop off my hoarder over on her way home my mom is immunocompromised so we're having to be extra careful during the pandemic and his generosity held me keep everybody safe at home [Music] you ...
“+10,000 Step By Step Plans ...even if you don't have a large workshop or expensive tools!“ Yes, Get Access To 12,000 Shed Plans! 👈


No comments