woodshop storage “+10,000 Step By Step Plans ...even if you don't have a large workshop or expensive tools!“ Download Today! 👈...
 woodshop storage
“+10,000 Step By Step Plans ...even if you don't have a large workshop or expensive tools!“ Download Today! 👈
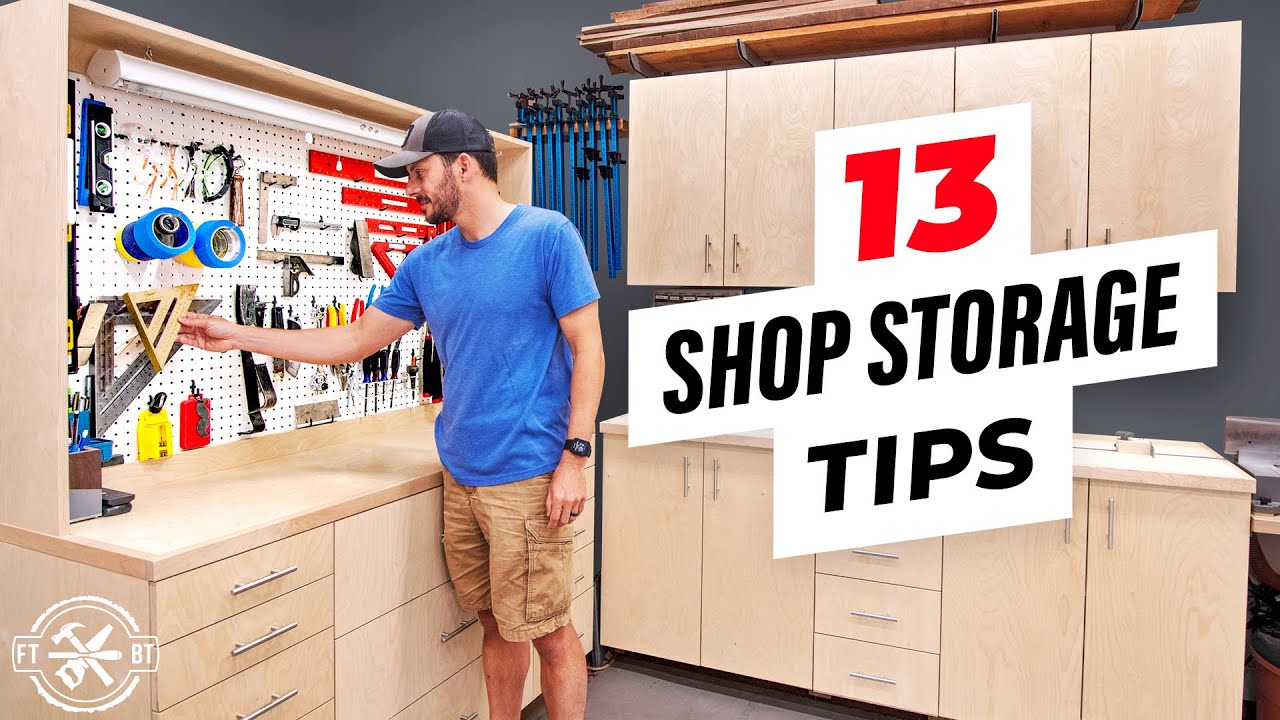
if your disorganized shop is stressing you out today i've got 13 easy ways to get organized in your shop have all the fancy storage like what i have this has been years in the making so wherever you're at right now you can apply some of these things we're going to talk about today in your shop so today we're going to talk about material storage small parts how to store things that you use all the time and where and how to store things that you don't use as often but you still want to have on hand so let's get going now one of the most common things that clutters and disorganizes the shop is off cuts and leftovers so number one thing you can do is have a rule for what you're going to keep and what you're going to throw out i get it especially with the cost of materials you want to keep everything and i used to be the worst at it i would keep every little piece that i had and even little pieces down to this because i thought you know what this is a nice piece of maple i might use it so i started implementing a rule recently anything that is smaller than my hand gets thrown out even though this is a piece i might use oops now if you make small projects maybe that works for you but not for me also when i looked at plywood i was keeping a lot of thin strips so on plywood i even got a little more aggressive and i started saying anything less than 12 inches i'm going to toss out or anything thinner than an inch and a half but the key is you have to stick to the rule and as enticing as that little piece of maple might look you just got to get rid of it but even with a good rule your shop can still get overrun with off cuts believe me i know it i used to have offcuts all over the walls i had bins that were filled with wood i was just squirring away wood everywhere because i thought that i would use it one day right we all think that but you won't so the idea is get a dedicated space i made this rolling wood cart a few months back and it has been awesome i took all of those extra places that i was storing the wood and i combined them all into one spot and anything that does not fit on here i don't keep now for your shop this might be smaller it might be larger the key is is to just have a dedicated spot that if it does not fit here you don't keep it so if the wood don't fit i just there's nothing really funny for me to say about that and if the wood don't fit i gotta pitch it now the third and last tip on material is make sure you're using all the spaces that you have available to you for me i use the walls in my shop to store a lot of the lumber these aren't necessarily off cuts although i do sneak some up there but i have this up here for longer boards and things that i'm going to be using maybe not right now but they're going to be for a project down the road but you might not have tall walls like this you might be in a basement workshop i used to have one of those myself and i would store lumber in between the rafters so think about different places that you can put lumber that is out of the way especially for long boards like these it's going to help free up space in your shop after materials the next most common thing that clutters up the shop is small parts we've got screws and bolts in all kinds of different types and sizes and all kinds of specialty fasteners and other things that you need around the shop so how do you keep track of them and what's the best way to do it i'm going to show you a few different ways that i do it and then you can judge if that works for you in your shop so the system that i've been using the longest is this one right here i've had these for over a decade this is like a small parts organizer box drawer system and these are great because they come in different sizes and you can pull them out and take them to the bench so i've got the large sizes here which i use for a lot of my fasteners especially the ones in the one pound boxes and then a lot of specialty items that i have in the smaller drawers up here but the most important thing with a system like this is to know what is inside each drawer so for these one pound fasteners i just take the front of the box off and put it right in there so i know what's in the drawer but for the smaller ones and for items that don't come in boxes i use labels and i've done these in most of them but not everywhere and it's really important for the small things so a lot of you are probably just like me and you've had a hand-me-down either from your dad or your granddad or somebody else and you have their fasteners in one of these containers and i don't really know what's in here so a lot of times i'm playing the old three-card monte constantly pulling these trays out and trying to figure out what's inside it so like i said before labeling is one of the most important things that back here i have a little pullout tray that has some of these portable small parts organizers on here and i have the labels on them so i can tell exactly what they are so i can grab what i need and this one for instance is hanging hardware so what i like to do with these portable ones is i like to organize them by specific tasks that i need for each one so this has all my hanging hardware in it if i open it up it's got everything in here that i would need to hang pictures or anything else in the house so whenever we're bringing in new home decor i will grab this take it inside and then i can do everything i need to just using what's inside here i have other ones for electrical connectors drawer hardware cabinet hardware and then screws as well so what's really nice about some of these styles and there's lots of different styles you can choose from very similar to like the ones on the bench top i can pull this out take this to the bench and use the certain size screw i need or if i need to take this on the job site and then i can just take out one of the little trays for the specific screws i need and not have to lug around the entire box once i go to the project there's lots of different versions of these and most of them have some type of locking feature and locked together so check it out because there are some cool systems out there that work together and you can add on accessories to make these even more versatile the last way that i store small parts in my shop is specific to fasteners i have a lot of that would be brad knit excuse me me nails as well as screws so in this drawer here is where i have all of my pneumatic nailers and i have this cool little tray that i made for it and it can just drop right in so this is just half inch plywood and i just glued and brad nailed this together and i've got little labels on here for all the sizes so i have a bunch of different sizes of 18 gauge as well as some 23 gauge and 16 gauge and even some crown staples and i have some little inserts to get some extra space out of it as well so that's a cool little tip is building something into the top of a drawer that you can take out you can get some extra mileage and storage out of your drawers that way this top drawer is where i store all of my screws that i use the most so i like using these containers here these stack in perfectly i can make kind of a grid system in the drawer and they have this nice locking feature so these are containers that came from the pocket screws that i have you can also get them separately but i have larger sizes and smaller sizes and they nest nicely with little indentations so that when you shake them around they don't go flying everywhere so just kind of have to pack it out so that there's not gaps in there so that when i open and close it doesn't slide back and forth and with the size of my drawer i can fit three high so i can stack a lot of different fasteners in this drawer and it'll close no problem so having a small container system like this in a drawer is a great way to keep it out of sight but easily accessible all right so staying on the back wall of the shop let's talk about some tool organization so probably one of the first things that you're going to start out with are cordless drills that was one of the first things i bought was a four piece cordless tool set but since then it's obviously expanded i now have 12 volts and 20 volts and 18 volts and i've got all kinds of batteries and chargers because i am using different platforms so you want to have a spot for them i used to store them in the little blow molded plastic cases they came with or the bags and they're just kind of scattered about and they weren't easy to access and i didn't know exactly where they were all the time so a saying that i love is a place for everything and everything in its place and that's exactly what this is so having a cordless drill charging station i know exactly where all my batteries go the tools and whenever i'm done with my drills i will put them back here and i know exactly where to get them so i would highly recommend to have a home base for your drills because it's one of the most used tools in your shop more than likely so great addition to your drill storage is having the accessories in the same spot so i've got two drawers here one for driving and one for drilling so in here i've got things like my right angle drill bit and just a lot of the extra bits and accessories for driving fasteners and then on this side i've got things like spade bits and countersinks and those types of accessories for drilling but the things that i use the most i keep them on this little slide out tray with magnetic bars and this is a great addition that i really love this because it keeps it right in front of me so this is my favorite countersink bit i use this the most that's why it's in the front and i have easy access to it i can pull it out here so that's one of the things you want to think about is again keeping those things that you use most often visible to you easily accessible and not hidden in drawers it's going to make your life a lot easier now as you do get into cordless tools your collection is going to grow and i have a dedicated cabinet here that is just for my cordless handheld tools so i have some of my most used ones here you can quickly grab them take them to the bench use them and then put them back again having a home base super important the nice thing about this cabinet is i did make this part adjustable so i've got these grooves in here and these center panels so i can slide these out move them around as i need to this opening's a little bit more narrow than this one so as my tool collection grows and changes i can flex with it so it's just a great tip in general as you think about storage is to think about adjustability and not only what your tools today might need but what your tools in the future might need now for my most used non-powered hand tools i love a good pegboard system so i made this pegboard hutch right over my cabinets and it's 60 inches wide and about 38 inches tall but the great thing about this is that everything is so easily accessible and a lot of times i get asked how do you lay it out and how do you figure out where everything goes i like to group things that make sense so for me i've got my safety equipment up top i've kind of got my levels and squares here i've got my measuring devices up top and some of my demo and prying things right here some general hand tools with wrenches chisels screwdrivers and then my hammers and a few little hand saws right over here in the corner so that's a great way to start but it's going to change over time i'm sure just start with something see how it fits and if you don't like it you can change it up that's the beauty of the pegboard system but one of the things that i do find is as i start taking things out and especially if i have a helper in the shop or i have somebody grabbing something for me or putting something away when i take multiple items say i'm taking off some trim i would use all of these now when i come back i don't know exactly where everything goes or i ask somebody to put it away they won't know where it goes so what i'm going to do is actually use the p-touch pro put a few labels on here especially in this area right here because it's not so obvious where these tools go and also for these labels i use the chain print function versus the face plate like i did before and this helps conserve tape because you're printing them all at one time and then cutting them out because i'm not really concerned if the sizes of the labels on this don't match each other so another great way to store some of those most used tools is the french cleat system and i don't use this in a lot of areas of my shop but for my clamps it works really well so if you're not familiar with what a french cleat is it's just two interlocking 45 degree angles so there are strips on the wall that have a 45 degree angle beveled on them and then anything that you put on them has the same type 45 degree angle and they just lock in place so it's really great because you can remove them easily but it is very secure and they will hold a lot of weight and they're super adjustable so i have a lot of my clamps here all these little racks and holders half french cleats on them so i can move them around and adjust them i also can use the french cleats to put quick clamps on and i have my sanding disk storage here which is great i also have all of my different grits here labeled with some p-touch labels works out really well now of course there's a lot of items that you're not going to need every single day and so that's more of the mid-term to long-term storage and what i love to use for that is cabinets so i love having cabinets with drawers as well as wall cabinets with doors and they work really well to store a lot of things but the tip here is you need to customize your cabinets now when i first started out i remember taking this vanity that came out of my brother-in-law's house and it was free and so i said sure i'll take it i threw a piece of plywood on top of it and used it in the shop but if you're using something like an old vanity then it's just a base cabinet with two doors on it in a big cavity inside so if you do have that hand-me-down vanity or just a commercial version of a cabinet that is not exactly what you need you can still customize it so one of my favorite ways is adding pull out trays so if you can put a pull out tray in a base cabinet it just gives it a lot more accessibility to the items in the back so things don't get lost this is an easy add-on to customize a current cabinet and my favorite way to customize wall cabinets is actually using some cubbies so you can put these on the side of a door you may have to upgrade the hinges to take the extra weight but you get extra access and it allows you to really segment what's inside there or also adding adjustable shelves so if you've only got one shelf in the middle drill some more shelf pins make your own shelves and you can have a lot more that you can get into one cabinet now but the best way to customize your cabinets is actually to build custom cabinets and so that's what i did several years ago i started on this journey to build out my shop the way that you see it now and so i built a lot of different cabinets and styles and i really love the drawers so i've got the smaller 15-inch variety with five drawers all the way up to the larger 30 inch variety with three drawers so it's great to have a lot of different options for sizes that you need like this top one here is great for my grinders because i don't use these a lot but they have a lot of bulky supplies that go with it and this is the perfect application but i have a lot of smaller accessories like nail punches and things like that that i don't want drowning in a large drawer and so i have those really small drawers they work out great but a key here is how do you know what's in each drawer and actually one thing i just realized i can use the clear p touch labels to put the labels on the tops of the handles so that's something that's a nice little addition and this is a really cool sleek way to label those drawers so if you want to design some cabinets to meet your exact needs that is awesome and that's exactly what i did but if you don't want to do that and you want to hit the easy button i do have plans available for this whole modular system you can mix and match the base cabinets down to a 15 inch increment to fit whatever space you have i'll have links down below in the description if videos of all the cabinetry that i've made in the shop i've got a playlist queued up for you right there so you can go see what those are all about before you decide if you want to buy the plans or not i'll give big thank you to all those folks that have been joining the ftbt builders club and i'll catch you guys over there on the next episode we're going to build something awesome you ...
“+10,000 Step By Step Plans ...even if you don't have a large workshop or expensive tools!“ Download Today! 👈


No comments